
Welcome back to our vSphere 9.0 Performance Tuning Series.
So far, we’ve focused on hardware optimization, ESXi tuning, and network performance. But even with a perfectly tuned foundation, a misconfigured guest operating system (OS) can waste performance potential.
Today, we’re moving inside the VM to focus on the Guest OS layer, covering:
-
The critical role of VMware Tools
-
Why paravirtualized hardware is a must
-
How to unlock the power of vNUMA for your largest workloads
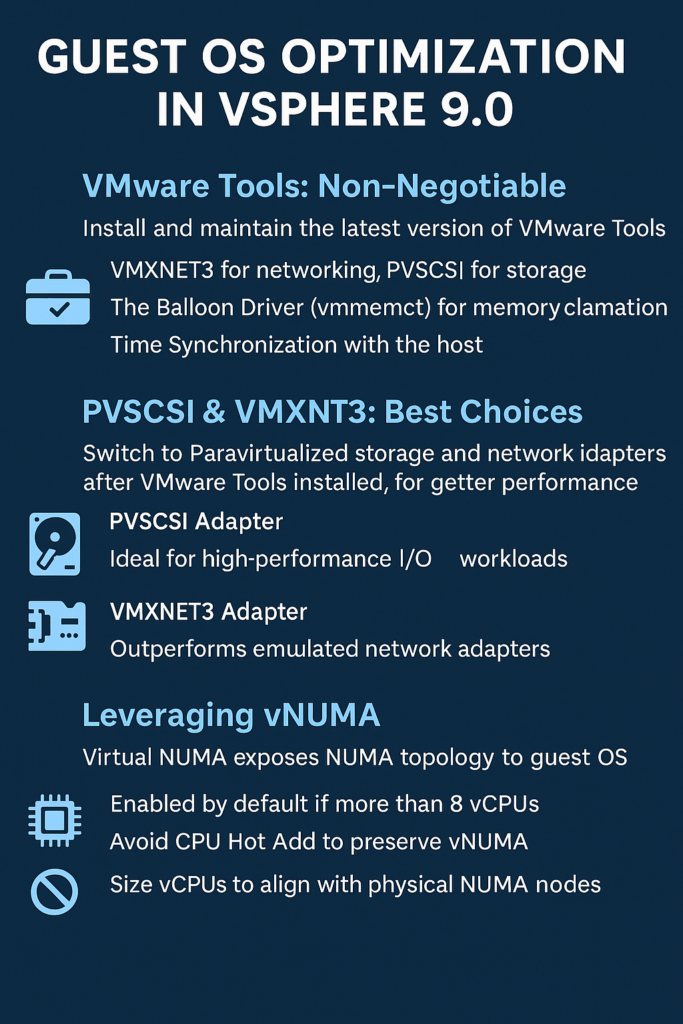
1. VMware Tools: Non-Negotiable for Peak Performance
If there’s one rule for Guest OS optimization, it’s this:
Install and maintain the latest version of VMware Tools.
VMware Tools isn’t just a collection of utilities—it’s a performance enabler. Without it, your VMs run on generic, emulated drivers that add CPU overhead and limit capabilities.
Why VMware Tools Matters:
-
Paravirtualized Drivers
-
VMXNET3 → High-performance networking
-
PVSCSI → Efficient storage handling
-
These drivers are built specifically for virtualized environments, delivering lower CPU usage and higher throughput.
-
-
Balloon Driver (vmmemctl)
-
Essential for memory reclamation, ensuring efficient memory management without impacting performance.
-
-
Time Synchronization
-
Keeps VM clocks aligned with the host, preventing application errors caused by time drift.
-
Pro Tip:
Always install VMware Tools right after building a VM and update it after every major vSphere upgrade.
2. Virtual Hardware Choices: PVSCSI & VMXNET3 Are Kings 👑
When creating a new VM, vSphere defaults to emulated hardware like:
-
LSI Logic SAS controllers
-
E1000e network adapters
These are fine for OS installation, but not for production performance.
For Storage: PVSCSI
-
Best choice for high-performance workloads, like databases.
-
Reduces CPU overhead while increasing I/O throughput.
-
Perfect for large-scale, storage-intensive applications.
For Networking: VMXNET3
-
The gold standard for virtual networking.
-
Supports advanced features like:
-
Multiple queues (RSS)
-
Jumbo frames
-
TSO and LRO
-
-
Delivers better performance and scalability than emulated NICs.
Recommendation:
Once VMware Tools is installed, switch to PVSCSI and VMXNET3 for all supported modern guest operating systems.
3. Unleashing vNUMA for Monster VMs
We discussed physical NUMA in our CPU optimization post.
Virtual NUMA (vNUMA) exposes that topology inside the VM, allowing NUMA-aware guest OSes to optimize resource scheduling.
Why vNUMA is Critical
-
Without vNUMA, a wide VM sees a flat memory layout, leading to:
-
Remote memory access
-
Increased latency
-
Performance degradation
-
-
With vNUMA enabled, the guest OS understands:
-
Multiple virtual sockets
-
Each with its own local memory
-
Schedules processes and memory intelligently
-
When vNUMA is Automatically Enabled
-
Any VM with more than 8 vCPUs gets vNUMA by default.
-
No manual configuration needed unless customizing topology.
CPU Hot Add Gotcha ⚠️
-
Enabling CPU Hot Add disables vNUMA!
-
The guest will revert to a flat memory model, harming performance.
Recommendation:
Only enable CPU Hot Add if absolutely necessary.
Otherwise, power down the VM to add vCPUs.
Sizing Best Practices with vNUMA
-
Best Case:
-
Keep vCPUs within a single physical NUMA node.
-
Example: If a host has 18-core sockets, size VMs ≤18 vCPUs.
-
-
Good Case:
-
If more vCPUs are needed, size in multiples of the physical NUMA node.
-
Example: 36 vCPUs on a host with 18-core sockets.
-
4. Bringing It All Together
By optimizing inside the guest, you ensure that:
-
VMware Tools enhances performance
-
Paravirtualized hardware reduces CPU overhead
-
vNUMA delivers maximum efficiency for large workloads
Up Next in the Series
We’ve optimized everything inside the VM.
Next, we’ll zoom out and look at the management layer, covering:
-
vSphere DRS: Smart workload balancing
-
vMotion: Lightning-fast migrations with zero downtime
Stay tuned—and share your guest optimization tips in the comments below! 💬